Revamping your bedroom with a fresh coat of paint can instantly transform the atmosphere of the room. Whether you’re changing the color or simply covering up old stains, painting is an easy and rewarding task. Follow these steps carefully to achieve a smooth and professional-looking finish.
Materials You Will Need
Before you begin painting, it’s important to gather all the necessary materials. Having everything ready will make the process smoother and more efficient.
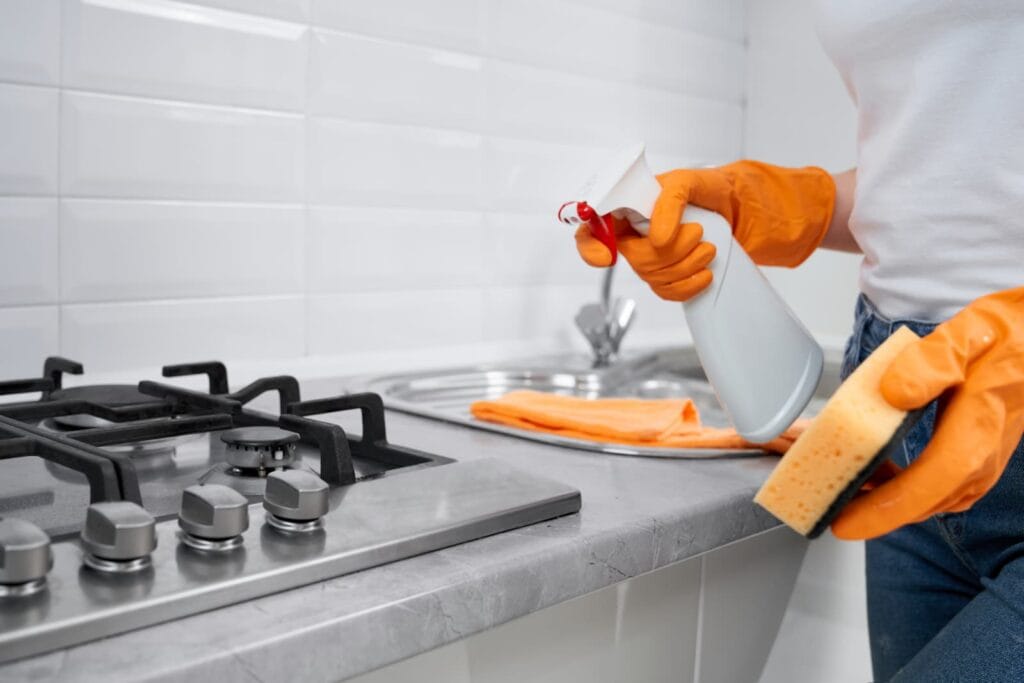
Finally, clean the walls thoroughly with soap, water, and rags to remove any dust or grease.
First, choose the right paint – Consider the type and finish that best suits your bedroom’s walls.
Next, grab a paint roller with an extension pole to cover large wall areas efficiently.
In addition, use angled paintbrushes to help with precision, especially for painting trim and edges.
To protect surfaces, apply painter’s tape around windows, doors, and baseboards.
Meanwhile, lay down drop cloths or plastic sheeting to catch any drips and spills.
Then, prepare a paint tray to hold and distribute the paint evenly.
If needed, have a sturdy ladder on hand to reach higher areas without strain.
Before painting, repair any wall imperfections by using spackle to fill in holes and cracks.
Once the spackle dries, use sandpaper to smooth the surface for an even finish.
Step 1: Prepare the Room
Before you start painting, it’s essential to prepare the room properly. First, begin by moving all the furniture out of the room or, if that’s not possible, push it to the center and cover it with drop cloths to protect from paint splatters.
- Next, remove any curtains, wall hangings, and light fixtures from the room. This will ensure that no paint accidentally splashes on these items.
- Afterward, apply painter’s tape to the edges of your walls, windows, doors, and trim areas. Make sure the tape is applied firmly to prevent paint from bleeding through.
Step 2: Repair Wall Imperfections
To ensure the paint adheres properly, you’ll need to address any imperfections on your walls.
- Start by checking the walls for any holes, dents, or cracks. Use spackle to fill these areas, then smooth over with a putty knife.
- Once the spackle has dried, sand it down with sandpaper to create an even surface for painting.
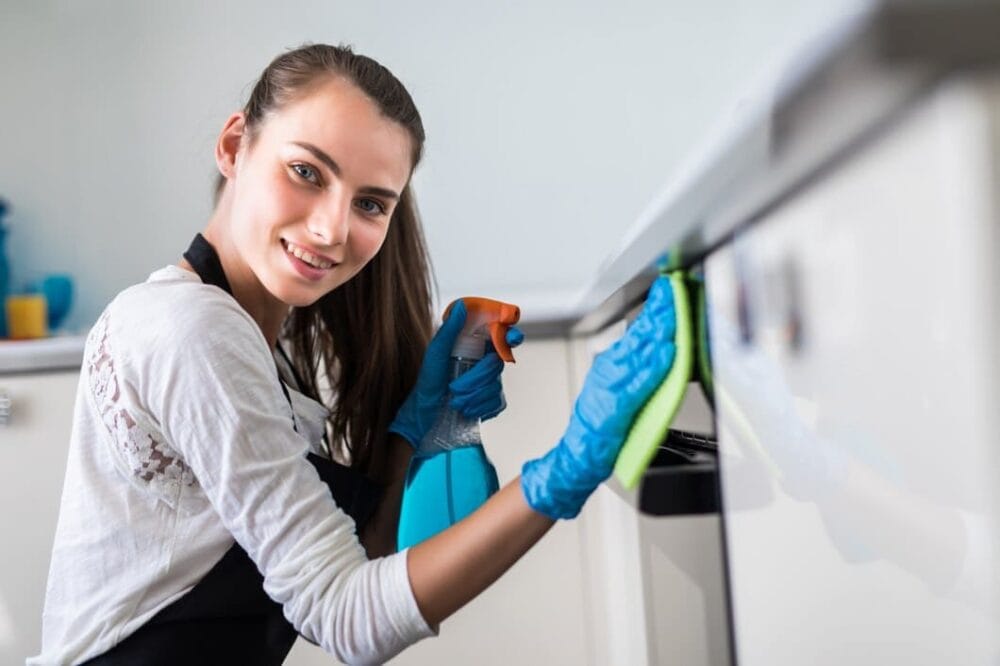
Step 3: Clean the Walls
Now that the walls are prepped, it’s time to clean them to remove dust, dirt, or any grease that could hinder the paint from sticking.
- Use a damp cloth with mild soap to wipe down the walls. Allow the walls to dry completely before you start painting.
Step 4: Apply Primer (If Necessary)
If you’re changing the wall color significantly or if the walls have stains, priming is a smart step to take. It helps with adhesion and ensures a more vibrant finish.
- Using a roller, apply a thin coat of primer to the walls, starting at the top and working your way down.
- Allow the primer to dry completely before continuing to the next step.
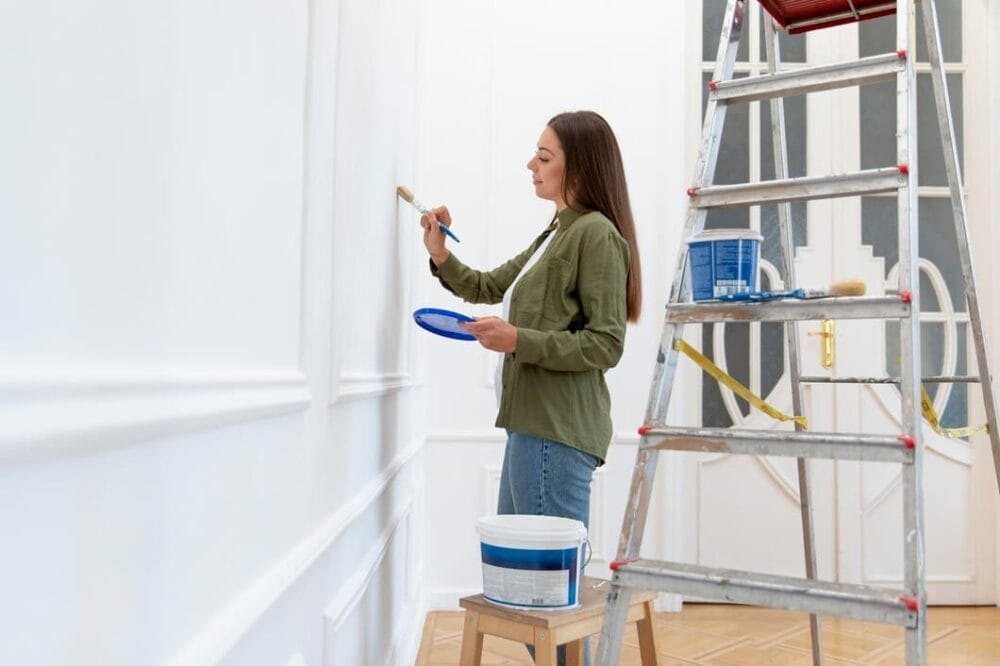
Step 5: Paint the Edges and Corners
Now you’re ready to start painting. Begin by painting the edges and corners of the room.
- Using an angled paintbrush, carefully apply paint along the edges of the walls, around windows, and along the trim. This helps to establish clean lines for the rest of the painting process.
Step 6: Paint the Larger Wall Areas
After you’ve finished the edges, move on to the larger wall areas.
- Load your paint roller with an ample amount of paint and start applying it to the walls. Begin at the top and use a “W” or “M” motion to spread the paint evenly.
- Continue in sections, overlapping each stroke to avoid streaks and ensure a consistent finish.
- If necessary, apply a second coat after the first coat has dried to achieve full coverage and a vibrant finish.
Step 7: Let the Paint Dry
Once you’ve finished painting, it’s important to allow the paint to dry.
- Let the paint dry as instructed on the paint can, generally waiting around 4 hours before applying a second coat, if required.
- Inspect the walls after drying, and touch up any areas that may need extra coverage.
Step 8: Clean Up
Once the painting is complete, it’s time to clean up your workspace.
- Carefully remove the painter’s tape while the paint is still a little tacky. This will prevent the tape from pulling up any paint.
- Wash your paintbrushes and rollers with soap and water if you’re using latex paint, or with the appropriate solvent for oil-based paint.
- Dispose of any used drop cloths and other materials, ensuring everything is cleaned and put away.
Step 9: Reassemble the Room
Finally, once the paint has fully dried, rearrange the room by putting the furniture back in place, and reinstalling the curtains, light fixtures, and any decorations you removed
earlier.