Keeping your refrigerator clean is essential for maintaining a healthy kitchen. Over time, food spills, stains, and expired items can accumulate, leading to unpleasant odors and even bacteria growth. Therefore, it’s important to clean your fridge regularly to ensure your food stays fresh and safe. In this guide, we will walk you through a detailed, step-by-step process for thoroughly cleaning your refrigerator.

Step 1: Gather Your Cleaning Supplies
Before starting, it’s important to gather everything you’ll need. This will help streamline the process and prevent unnecessary interruptions.
You Will Need:
✔ Dish soap or mild detergent – for general cleaning
✔ Baking soda – for removing stains and odors
✔ White vinegar or lemon juice – for disinfecting
✔ Warm water – for easy cleaning
✔ A spray bottle – for applying cleaning solutions
✔ A microfiber cloth or sponge – for wiping surfaces
✔ A scrub brush or old toothbrush – for tough stains
✔ A dry towel or paper towels – for drying
✔ A trash bag – for disposing of expired food
Step 2: Empty the Refrigerator
Now that you have everything prepared, it’s time to remove all the food and drinks from your refrigerator. This is essential because cleaning around food is difficult and inefficient.
What to Do:
- Take everything out of the fridge, including items from the shelves and door compartments.
- Place perishable items (like milk, eggs, and meat) in a cooler with ice packs to keep them fresh while you clean.
- Check expiration dates and discard anything that has gone bad or won’t be used.
- Wipe off sticky or messy containers before placing them back later.
Step 3: Remove and Clean the Shelves and Drawers
Since your refrigerator is now empty, it’s the perfect time to clean the shelves and drawers. These areas often accumulate food spills and stains, so they need special attention.
How to Clean Shelves and Drawers:
- If possible, remove all shelves, drawers, and compartments.
- Fill your sink or a large basin with warm, soapy water.
- Let the shelves and drawers soak for 10–15 minutes to loosen dirt and sticky residue.
- Use a sponge or scrub brush to gently clean each piece.
- Rinse with clean water and let them air dry while you clean the inside of the fridge.
Step 4: Deep Clean the Interior
With all food and shelves removed, you can now focus on deep cleaning the inside of your fridge. This step is crucial for eliminating bacteria, removing odors, and keeping your fridge fresh.
Cleaning Process:
- Prepare a cleaning solution by mixing 2 tablespoons of baking soda with 1 quart of warm water in a spray bottle.
- Spray the entire interior, including the walls, ceiling, and compartments.
- Use a microfiber cloth or sponge to wipe down all surfaces.
- For stubborn stains, make a paste using baking soda and water, apply it to the stain, and scrub with an old toothbrush.
- For bad odors, wipe the fridge with a mixture of equal parts vinegar and water.
- Dry all areas completely using a clean towel before putting anything back.
Step 5: Clean the Door Seals (Gasket)
The rubber door seals (also called the gasket) are often overlooked, but they can trap dirt, mold, and food particles, leading to bacterial buildup.
How to Clean the Door Seals:
- Mix warm water with dish soap to create a mild cleaning solution.
- Dip an old toothbrush into the solution and scrub along the grooves of the door seal.
- For mold or mildew, use a solution of equal parts vinegar and water.
- Wipe dry with a clean cloth to prevent moisture buildup.
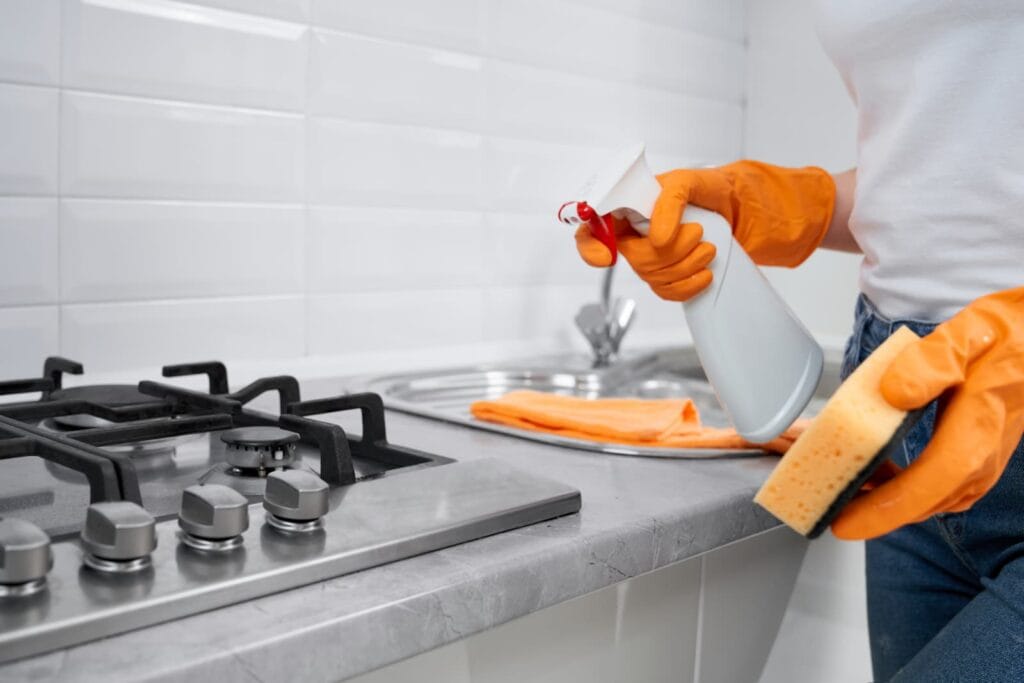
Step 6: Clean the Exterior of the Fridge
Now that the inside is spotless, it’s time to clean the outside. This step is especially important for stainless steel refrigerators, which can show fingerprints and smudges easily.
How to Clean the Exterior:
- Use a damp microfiber cloth with mild dish soap to wipe down the fridge.
- For stainless steel, mix white vinegar and water in a spray bottle and wipe in the direction of the grain.
- For tough stains, apply a small amount of baking soda to a damp cloth and gently scrub.
- Polish with a dry cloth to leave a streak-free shine.
Step 7: Put Everything Back and Organize
Now that your refrigerator is completely clean, it’s time to restock it in an organized and efficient manner.
Best Practices for Organization:
✔ Use storage bins to keep similar items together (e.g., dairy, fruits, condiments).
✔ Store raw meat on the bottom shelf to prevent cross-contamination.
✔ Keep leftovers in clear containers so they are easy to see.
✔ Place baking soda in the fridge to absorb odors.
✔ Label and date leftovers to ensure they are used in time.
Step 8: Maintain a Clean Fridge
To keep your fridge fresh and clean, follow these simple maintenance tips:
✔ Wipe up spills immediately to prevent stains.
✔ Check and discard expired food every week.
✔ Deep clean your fridge every 1–2 months.
✔ Replace the baking soda box every 3 months to eliminate odors.
✔ Keep the fridge temperature at or below 40°F (4°C) for food safety.

Final Thoughts
Cleaning your refrigerator may seem like a big task, but by breaking it down into these simple and structured steps, you can do it efficiently. From removing food and washing shelves to scrubbing the interior and organizing properly, every step plays a crucial role in maintaining a clean, odor-free, and bacteria-free fridge.
By cleaning regularly, you’ll extend the life of your food, reduce waste, and create a healthier kitchen environment.