Introduction
Installing wallpaper is a fantastic way to transform the look of any room in your home. Whether you’re aiming to add texture, color, or a bold design, wallpaper can bring a unique charm to your space. However, the process might seem daunting at first. Fortunately, with the right tools, careful planning, and a bit of patience, you can easily install wallpaper yourself. In this guide, we’ll walk you through each step, from preparing your walls to applying the wallpaper, ensuring a smooth and professional finish. By the end, you’ll be ready to add a personal touch to your home with ease. So, let’s get started!
1. Gather All Your Tools and Materials
Before you begin, make sure you have everything you need:
- Wallpaper: Choose the wallpaper you want. You can choose between different types such as peel-and-stick or paste-the-wall. Make sure to buy a bit more than needed in case of mistakes.
- Wallpaper Paste: If your wallpaper isn’t pre-pasted, you’ll need wallpaper adhesive. Buy a high-quality paste that suits your wallpaper type.
- Wallpaper Brush or Smoothing Tool: This will help smooth the wallpaper as you apply it, ensuring there are no bubbles or wrinkles.
- Utility Knife or Wallpaper Scissors: For cutting the wallpaper to size and trimming excess.
- Measuring Tape: For accurately measuring the height and width of the walls.
- Level: To make sure the wallpaper is hung straight.
- Straight Edge or Wallpaper Ruler: This helps ensure clean, straight cuts.
- Drop Cloth or Protective Covering: To protect your floors from paste splatters and excess wallpaper.
- Pencil: To mark measurements on the wall and wallpaper.
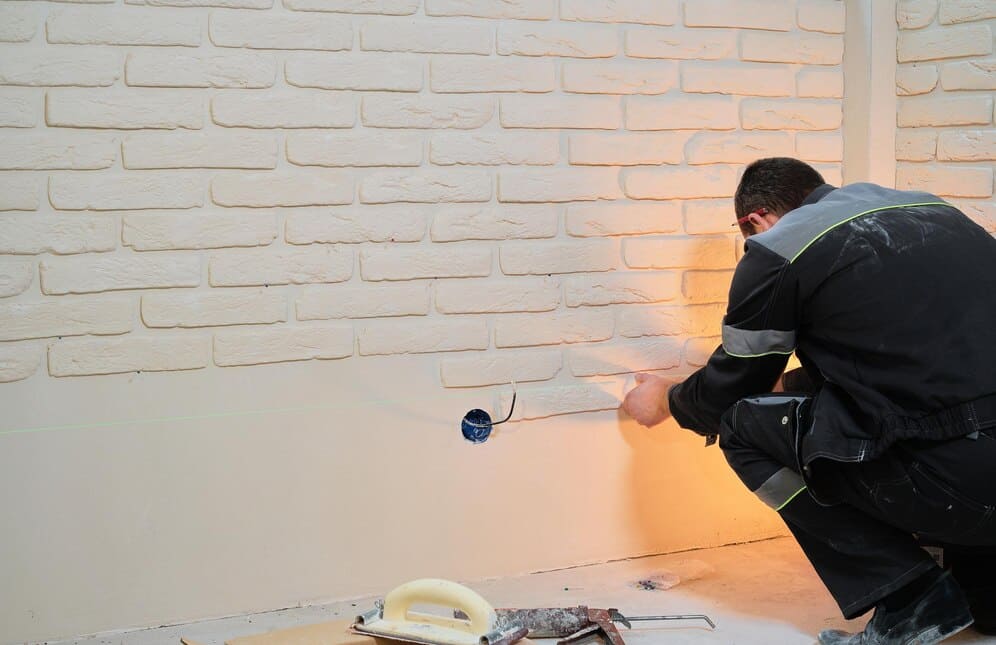
2. Prepare the Walls
Properly preparing your walls is crucial to ensure the wallpaper sticks and adheres well:
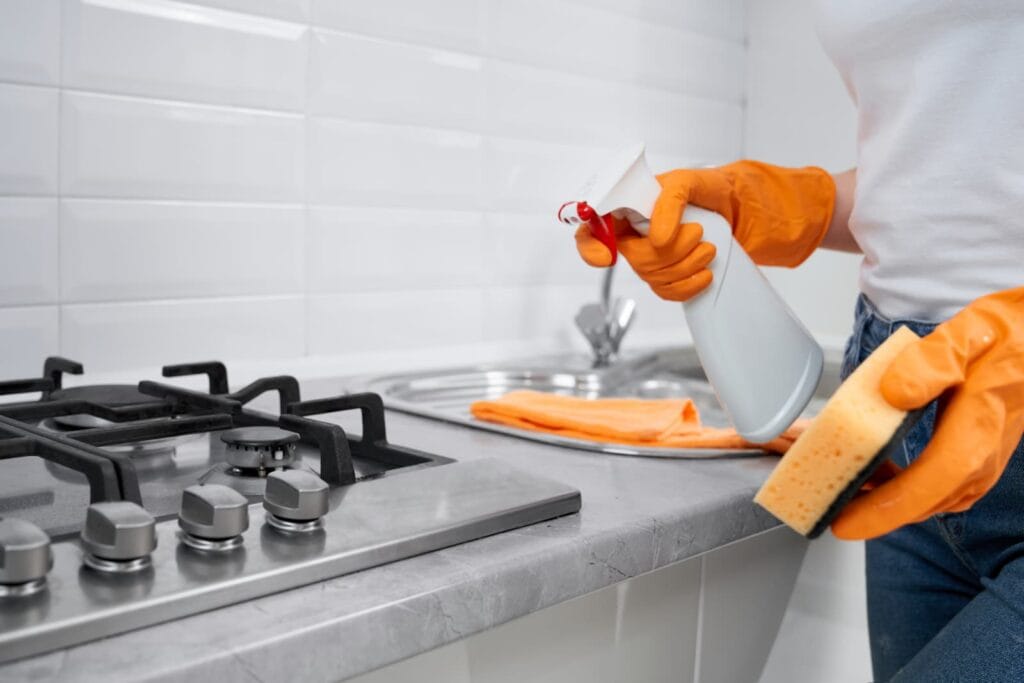
Clean the Walls
- Start by cleaning the walls thoroughly. Dust, dirt, and grease can affect the wallpaper’s adhesion. Use a sponge and mild detergent to wipe down the surface. If there are stains, you can use a stronger cleaner.
- Next, remove any Old Wallpaper (If Applicable): If you are removing old wallpaper, carefully peel it off using a scraper. If any paper is stubborn, soak it with water or wallpaper remover before scraping it off.
- After that, fill Holes and Cracks: If you have any holes or imperfections in the wall, use wall filler or spackle to fill them in. Once dried, sand the surface smooth so the wallpaper goes on evenly.
- Additionally, Prime the Wall (Optional): If your walls are porous, or if you are wallpapering over new drywall, it’s advisable to apply a primer first. This helps seal the surface and ensures better adhesion of the wallpaper.
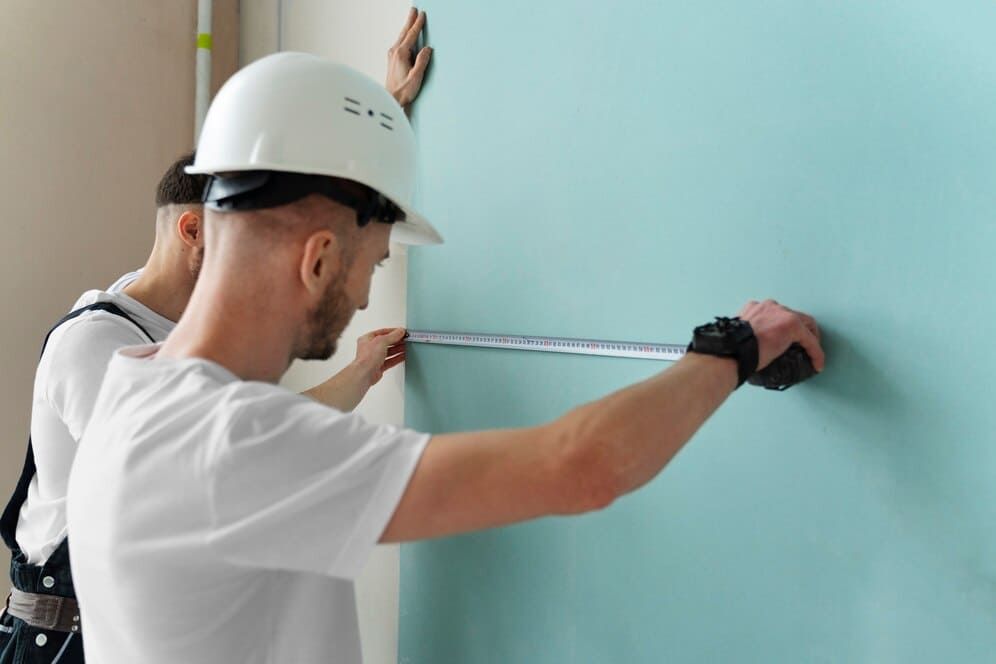
3. Measure and Cut the Wallpaper
Measure Your Wall
- First, measure the height: Use a measuring tape to determine the height of your wall, from the top of the baseboard to the ceiling.
- Then, Cut Your Wallpaper: Cut strips of wallpaper according to the height of the wall. Be sure to add a few extra inches on both the top and bottom to ensure you can trim them later for a clean finish. When cutting wallpaper, use a straight edge or wallpaper ruler to ensure that your cuts are straight.
Match the Pattern
- If the Wallpaper is Patterned: If your wallpaper has a repeating pattern, pay attention to the design and make sure the edges of each wallpaper strip line up. This may require adjusting the position of the wallpaper before applying it.
4. Apply Wallpaper Paste (If Required)
If your wallpaper isn’t pre-pasted, you will need to apply adhesive:
Prepare the Paste
- Now, follow the instructions on the paste package to prepare the paste mixture.
- If needed, use an Adhesive Tray: If you are using paste-the-wall wallpaper, you can apply the paste directly to the wall using a paint roller or brush. If you are using wallpaper with adhesive backing, paste it onto the back of the wallpaper using a wallpaper brush or roller.
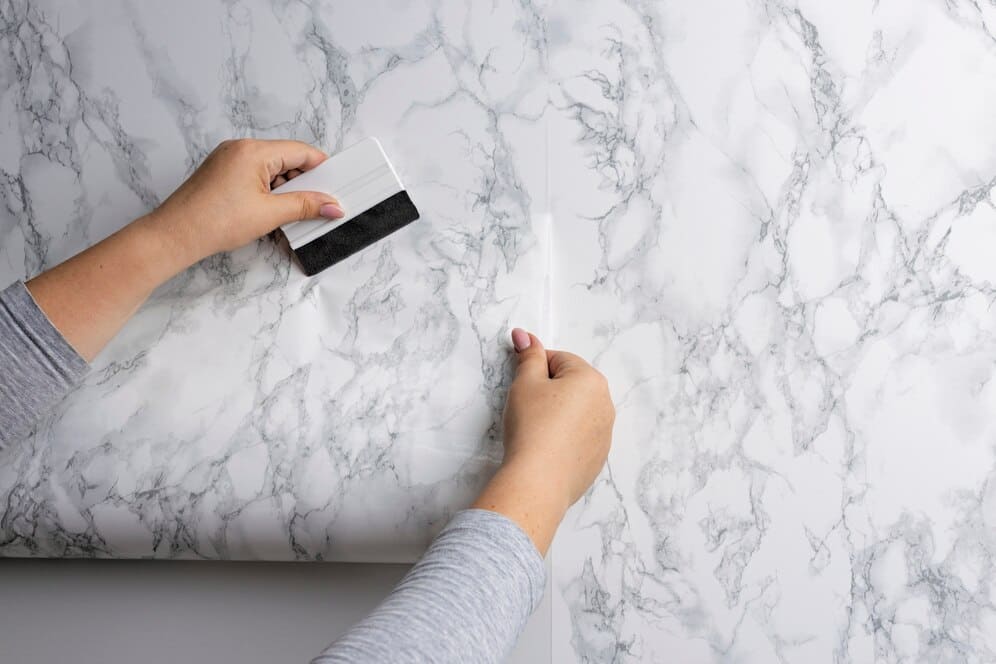
5. Hang the First Strip of Wallpaper
Position the First Strip
- To start, find a starting point: Begin from a corner of the room or along a straight edge like a window frame or door. Make sure the wallpaper aligns with the edge of the wall. If needed, use a level to make sure the first strip of wallpaper goes on straight. This is critical for making sure the rest of the strips align properly.
- Next, align the top: Position the top of the wallpaper strip about 2-3 inches below the ceiling. Once the top is aligned, smooth it down carefully with your wallpaper brush or smoothing tool to remove any air bubbles.
Smooth the Wallpaper
- As you go, work from the center outwards: Press the wallpaper gently against the wall to eliminate any air bubbles. Continue to smooth the wallpaper down the length of the wall. Be patient as you do this to get a smooth, professional finish.
6. Install the Remaining Wallpaper Strips
Match the Pattern
- As you move on, for patterned wallpaper, align each new strip with the previous one so that the design continues seamlessly. Take your time to ensure that each strip of wallpaper fits together without gaps.
Trim Excess Wallpaper
- Once the wallpaper is in place, use a utility knife to trim the excess at the top and bottom of the wall. Use a straight edge to guide the knife and make a clean cut.
7. Clean Off Excess Paste
After applying each strip:
- First, wipe off excess paste: As you go, you’ll likely have some paste that seeps out along the edges of the wallpaper. Use a damp sponge to gently wipe away any excess paste from the surface of the wallpaper. Be sure to do this before the paste dries, as dried paste can leave marks on your wallpaper.
8. Final Touches and Drying
- Next, trim around edges: Once the wallpaper is up and the paste is cleaned off, you can trim any excess wallpaper around the corners, switches, and other edges with a utility knife.
- Finally, let it dry: Allow the wallpaper to dry as per the manufacturer’s recommended time. Be sure to keep the room ventilated and avoid touching the wallpaper until it’s fully dry to the touch.
9. Perform Final Checks
- First, check for any bubbles: Gently press on any air bubbles or creases to smooth them out. If any persist, you can carefully lift the wallpaper and re-position it.
- Lastly, ensure proper adhesion: Check the wallpaper after a few hours to ensure it’s adhering well. Press down on the edges and seams to make sure they’re firmly stuck.
Conclusion
Wallpapering is a great way to enhance the interior of your home, and with the right preparation and steps, you can achieve a beautiful and professional-looking finish. By measuring accurately, preparing the wall properly, and following the steps carefully, you can enjoy a stunning transformation of your space in no time! Happy decorating!