Installing tiles in a bathroom not only enhances its appearance but also increases durability and water resistance. Whether you’re working on the floor or walls, following a proper step-by-step method ensures a professional and long-lasting result. To help you achieve the best outcome, here’s a comprehensive guide to installing toilet tiles efficiently.
Materials & Tools Required
Before you start, it’s important to gather all the necessary materials and tools. This will help ensure a smooth workflow without interruptions.
Materials:
✔ Ceramic, porcelain, or natural stone tiles
✔ Tile adhesive (thin-set mortar)
✔ Grout (sanded or unsanded, depending on tile spacing)
✔ Tile spacers (for even gaps)
✔ Sealant (to protect grout and tiles)
Tools:
✔ Tile cutter or wet saw (for precise cuts)
✔ Notched trowel (for spreading adhesive evenly)
✔ Level (to maintain even tile placement)
✔ Rubber float (for smooth grout application)
✔ Measuring tape (for accurate tile placement)
✔ Sponge and bucket (for cleaning excess grout)
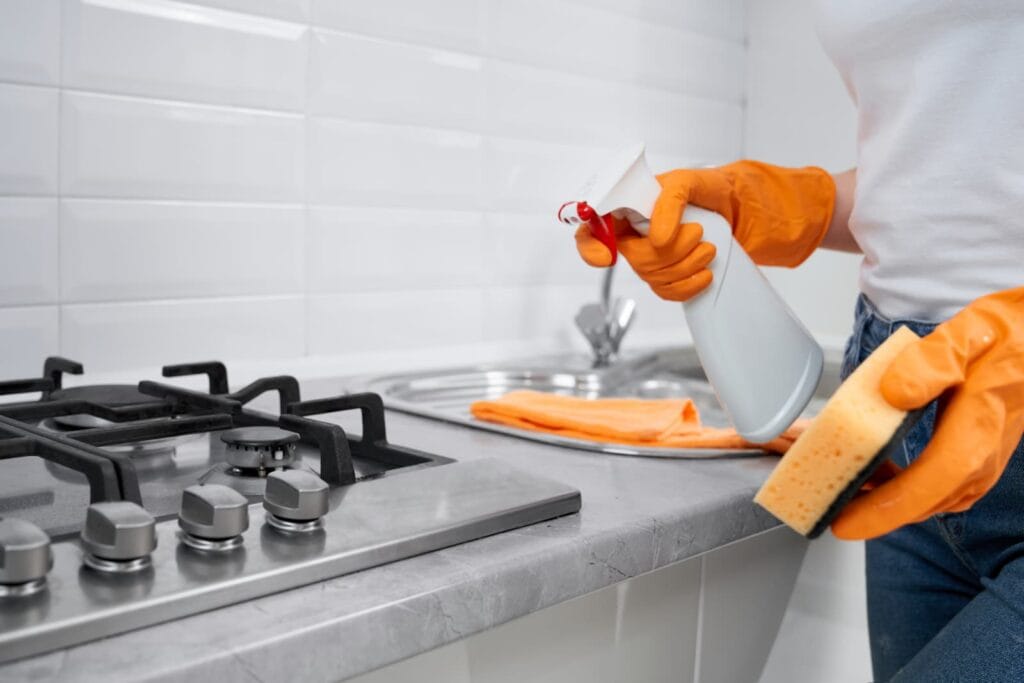
Step 1: Prepare the Surface
Before laying tiles, it is crucial to ensure that the surface is clean, smooth, and level. Without proper preparation, the tiles may not adhere correctly, leading to an uneven finish.
- First, remove existing flooring or wall tiles using a chisel and hammer.
- Next, clean the surface thoroughly to eliminate dust, grease, or debris.
- If there are any uneven areas, repair them using a self-leveling compound or patching material.
- After that, mark reference lines with chalk to guide tile placement and maintain straight alignment.
Step 2: Apply Adhesive and Lay the Tiles
Now that the surface is ready, it’s time to apply the adhesive and begin laying the tiles.
- To start, prepare the tile adhesive according to the manufacturer’s instructions.
- Then, spread a thin, even layer of adhesive using a notched trowel, working in small sections to prevent it from drying too quickly.
- Afterward, place each tile carefully, pressing firmly into the adhesive to ensure a secure bond.
- Be sure to use tile spacers between tiles to maintain consistent gaps for grout application later.
- At this point, check the alignment frequently with a level, making adjustments as needed.
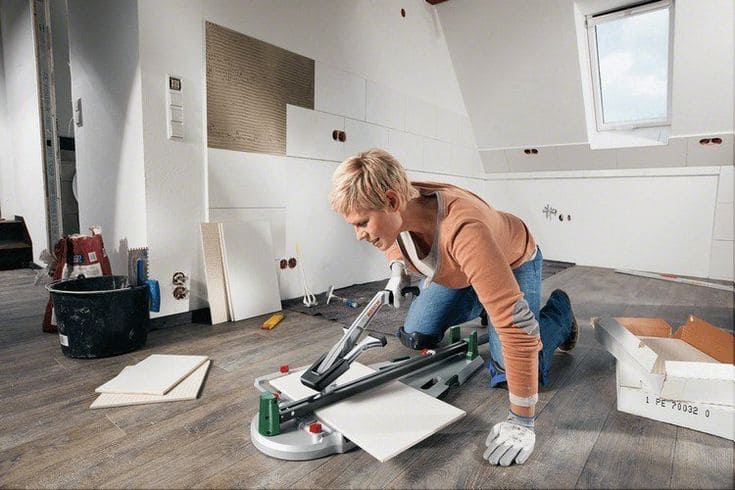
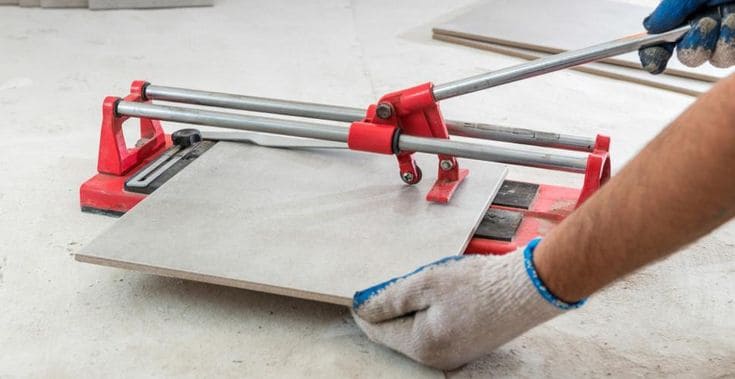
Step 3: Cut Tiles to Fit Edges and Corners
As you near the edges and corners, you will likely need to cut some tiles to fit the remaining space properly.
- First, measure and mark tiles that require cutting.
- Next, use a tile cutter or wet saw to achieve precise cuts.
- If the edges feel rough, smooth them out using sandpaper or a rubbing stone.
- Finally, fit and install the cut tiles in the appropriate spots to complete the layout.
Step 4: Apply Grout to Seal the Gaps
Once the tiles are in place and the adhesive has dried, it’s time to apply grout. This step ensures that the tiles remain securely bonded and prevents moisture from seeping through.
- Before applying grout, allow the adhesive to cure for at least 24 hours.
- Then, prepare the grout mixture and use a rubber float to spread it evenly across the tile joints.
- As you work, press the grout firmly into the gaps at a 45-degree angle to ensure complete coverage.
- Next, wipe away excess grout with a damp sponge before it hardens.
- Finally, let the grout set for 24-48 hours before moving on to the next step.
Step 5: Seal and Finish the Installation
Now that the grout has dried, it’s time to add the final touches to protect your work and ensure a polished look.
- Start by applying a grout sealer to prevent moisture absorption and staining.
- Then, polish the tiles with a dry cloth to remove any remaining grout haze.
- If you removed any fixtures, carefully reinstall them to complete the installation.
Helpful Tips for the Best Results
To make the installation process even smoother, keep these expert tips in mind:
✔ Always use waterproof grout for bathroom tiles to prevent mold and mildew.
✔ Work in small sections to prevent the adhesive from drying before tiles are placed.
✔ Wear protective gear when cutting tiles to avoid injury.
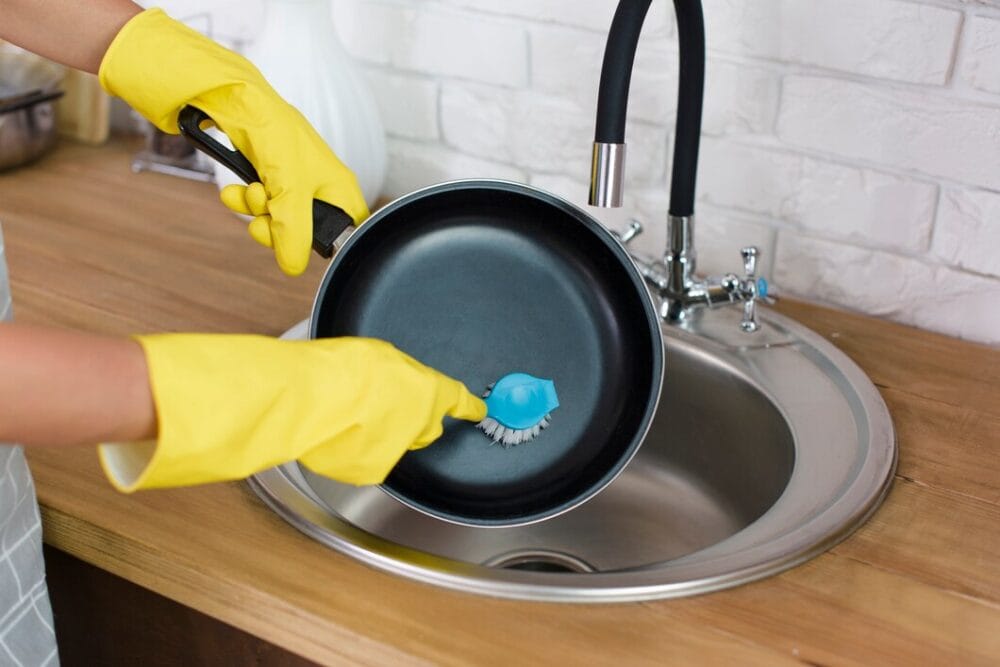
✔ Regularly clean your tiles to maintain their shine and longevity.