Installing an electric water heater requires basic plumbing and electrical skills. To ensure a smooth and safe installation, follow these instructions.
Before You Begin: Safety First
Before you start, follow these safety precautions:
- First, switch off the circuit breaker at the electrical panel to cut power to the water heater.
- Next, close the cold water valve to prevent leaks.
- Then, attach a hose to the drain valve and empty the tank.
Tools & Materials You’ll Need
To make the installation easier, gather the following tools and materials:
- Adjustable wrench
- Pipe wrench
- Screwdrivers
- Teflon tape (pipe thread sealant)
- Pipe cutter
- Voltage tester
- Flexible water supply hoses
- Electrical conduit and wire connectors
Step-by-Step Installation Process
1. Removing the Old Water Heater
- First, turn off the power and water to ensure safety.
- Then, drain the tank by opening the drain valve.
- Next, loosen the water pipe connections using a wrench.
- Afterward, disconnect the electrical wiring by removing the access panel.
- Finally, remove the old unit by lifting it out of place.
2. Positioning the New Water Heater
- Start by placing the new heater on a flat, stable surface.
- Then, ensure there’s at least 6 inches of clearance around the unit for proper ventilation.
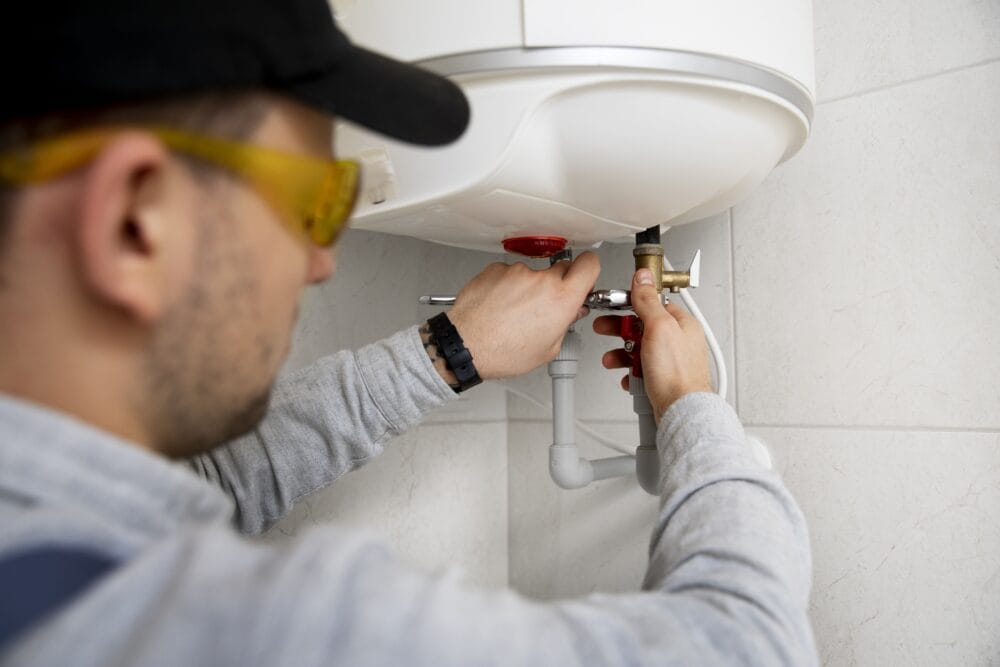
3. Connecting the Water Supply Lines
- First, wrap Teflon tape around the threads of the water inlet and outlet to prevent leaks.
- Next, attach the flexible hoses to the connections.
- Finally, tighten the fittings securely with a wrench to avoid any leaks.
4. Wiring the Electrical Connections
- First, remove the electrical cover from the heater.
- Then, confirm the power is off using a voltage tester.
- Next, connect the wires as follows:
- First, Black to black (hot)
- second, Red to red (hot)
- third, Ground wire to the green screw
- Afterward, secure the connections with wire nuts and replace the cover.
5. Filling the Water Heater Tank
- Start by opening a hot water faucet to allow air to escape.
- Next, slowly turn on the cold water supply to fill the tank.
- Finally, close the faucet once water flows steadily.
6. Restoring Power & Testing the Heater
- First, switch on the circuit breaker to restore power.
- Next, set the thermostat to 120–140°F (49–60°C) for optimal performance.
- Finally, wait 1-2 hours for the water to heat up.
Final Checklist
Finally, ensure all covers and panels are securely fastened for safety.
First, check for leaks around the water connections.
Next, confirm that the heater is producing hot water by running the faucet and checking the temperature.