Installing a toilet may seem like a daunting task, but with the right tools and a systematic approach, you can complete it efficiently. Whether you’re replacing an old toilet or installing a new one, following a structured process will help you achieve a leak-free and secure fit. To make things easier, here’s a detailed step-by-step guide to ensure a smooth installation.

Step 1: Remove the Old Toilet (If Replacing)
If you’re replacing an existing toilet, you must remove it first before installing the new one. Follow these steps carefully to avoid damage or leaks.
- First, shut off the water supply by turning the valve located near the base of the toilet.
- Next, flush the toilet to drain as much water as possible.
- Then, use a sponge or towel to soak up any remaining water from the bowl and tank.
- After that, disconnect the water supply line using an adjustable wrench.
- Now, unscrew the nuts on the toilet base that secure it to the floor.
- Carefully lift the toilet off the flange and place it on an old towel or garbage bag.
- Finally, scrape off the old wax ring from the flange using a putty knife and clean the area thoroughly.
Step 2: Install a New Wax Ring and Closet Bolts
Once the old toilet has been removed, it’s time to prepare the base for the new installation.
- Begin by placing the new wax ring (or rubber gasket) onto the toilet flange, ensuring it is centered.
- Next, insert new closet bolts into the flange slots to secure the toilet in place.
- Before proceeding, double-check the alignment of the bolts to make sure they are straight.
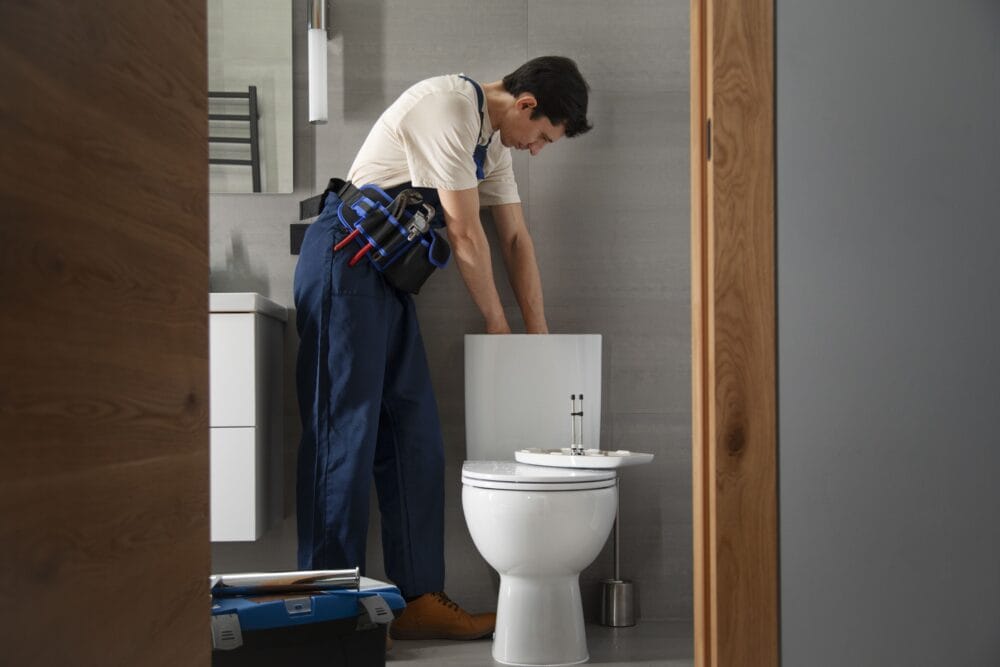
Step 3: Position and Secure the Toilet Bowl
At this stage, you will carefully position the new toilet bowl onto the flange.
- First, lift the toilet bowl carefully and align it with the flange and bolts.
- Then, gently lower the toilet onto the wax ring, applying slight pressure to create a watertight seal.
- Press down evenly to ensure a secure fit, but avoid rocking or tilting the toilet.
- Now, place washers and nuts onto the closet bolts, tightening them gradually in an alternating pattern.
- At this point, check that the toilet is level and adjust if necessary.
Step 4: Attach the Toilet Tank (If Separate)
If your toilet has a separate tank and bowl, you’ll need to secure the tank next.
- Start by placing the rubber gasket on the bottom of the tank where it connects to the bowl.
- Next, align the tank with the bowl holes and carefully insert the mounting bolts.
- Then, tighten the bolts evenly using a wrench, ensuring the tank is stable but not over-tightened.
Step 5: Connect the Water Supply
Now that the toilet is securely in place, it’s time to restore the water supply.
- First, attach the new supply line to the toilet’s fill valve.
- Hand-tighten the connection first, then use a wrench to ensure a secure fit.
- Once secure, turn on the water supply and allow the tank to fill.
- At this stage, check for leaks around the base, supply line, and tank connections.
Step 6: Test and Seal the Toilet Base
Before finishing the installation, you’ll want to test the toilet and ensure everything is working properly.
- Flush the toilet multiple times to check for proper operation.
- Inspect the base and surrounding areas for any signs of leaks.
- If desired, apply caulk around the toilet base for a clean and finished look.