A home alarm system is a crucial investment for protecting your property and loved ones. To start with, a well-installed alarm system not only helps to deter intruders but also alerts you in case of emergencies, providing peace of mind. However, the thought of installing such a system might seem intimidating if you’re not familiar with security setups. Fortunately, with the right tools and clear, step-by-step guidance, you can easily install the system yourself. In this guide, we’ll take you through every stage of the installation process, from planning the layout to testing the system to ensure everything is working correctly. By following these simple steps, you’ll be able to secure your home efficiently and effectively, all without the need for a professional installer.
1. Plan Your System Layout
Planning is essential to ensure an effective alarm system. First, identify all the doors and windows that need sensors, as these are the most common entry points for burglars. Next, decide where to place motion detectors, such as in living rooms, hallways, or entryways, to cover as much space as possible. Additionally, choose a central location for the control panel. It should be easily accessible, but not visible from outside to prevent tampering. Finally, consider where to place additional keypads or remotes, ideally near the main entrance, for easy access.
2. Gather the Necessary Tools and Equipment
To ensure the installation goes smoothly, you’ll need the following tools and equipment:
- Alarm system kit (control panel, sensors, motion detectors, sirens)
- Screwdrivers (both flathead and Phillips)
- Drill and bits (for mounting sensors and panels)
- Measuring tape (to measure distances between sensors)
- Level (to ensure that sensors and control panels are straight)
- Adhesive or screws (depending on the type of sensors)
- Power supply and backup battery (to ensure continuous operation during outages)
Once you have gathered all the tools, you’ll be ready to begin the installation.
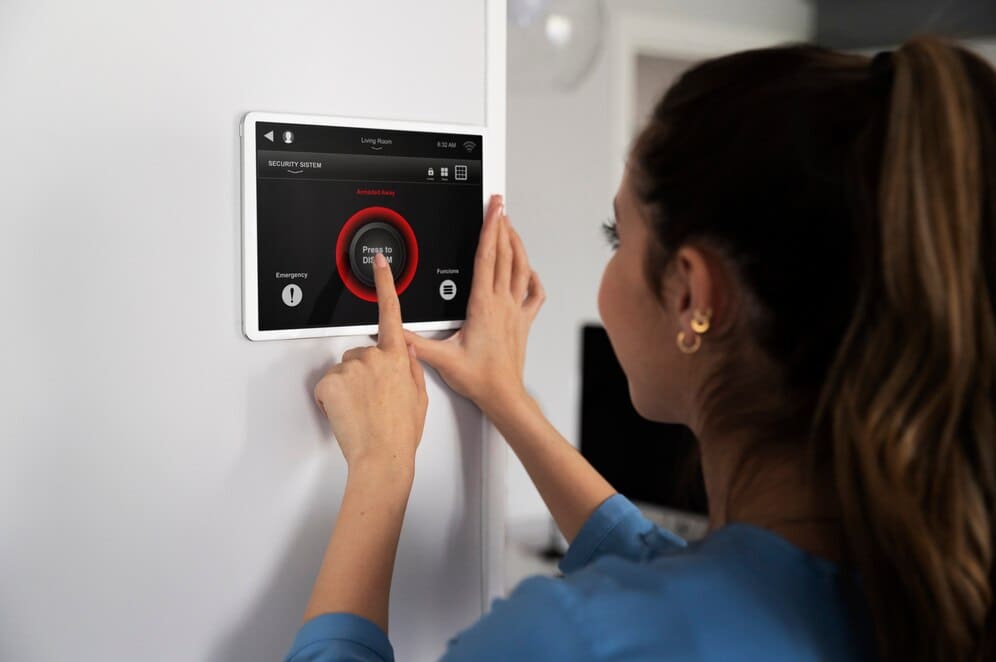
3. Mount the Control Panel
The control panel is the heart of your alarm system. To start, choose a central and easily accessible location, such as near the main entry door. Next, drill holes and mount the panel securely using screws or adhesive strips. After that, plug the control panel into a wall outlet to provide it with power. Additionally, ensure that the backup battery is installed correctly to maintain functionality during power outages. Finally, test the panel to ensure it powers up and is functioning as expected.
4. Install Door and Window Sensors
Door and window sensors are crucial for monitoring entry points. First, mount the larger part (magnet) of the sensor on the door or window frame. Then, attach the smaller part (the switch) to the door or window itself. Make sure both parts are aligned correctly when the door/window is closed, as this will trigger the alarm when separated. Subsequently, secure the sensors with either screws or adhesive, depending on the system’s requirements. Once all the sensors are mounted, test each one by opening and closing doors and windows to confirm they’re properly triggering the system.
5. Install Motion Detectors
Motion detectors are essential for monitoring activity in larger areas. To begin, choose high corners of rooms, hallways, or entryways for optimal coverage. Next, install the detectors at a height of 6-8 feet to ensure they detect movement effectively. Additionally, check that there are no obstacles, such as furniture, blocking the detector’s field of view. Then, secure the motion detectors in place with screws or adhesive, depending on your system. Finally, test the motion detectors by walking in front of them to confirm they trigger the alarm.
6. Connect the System to Power
Connecting the alarm system to power is a critical step. First, plug the control panel into an electrical outlet to supply it with power. Next, install the backup battery to ensure the system continues working during power outages. Afterward, check the sensor batteries, particularly if they are wireless, and replace any low batteries. Finally, confirm that all sensors and the control panel are powered and operational before continuing.
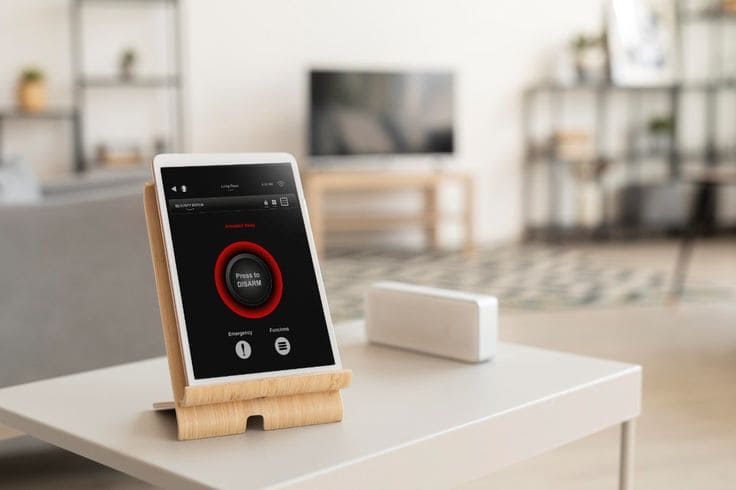
7. Test the System
Testing your alarm system ensures everything is functioning correctly. To start, test the door and window sensors by opening and closing each one to verify they trigger the system. Then, test the motion detectors by walking in front of them to confirm they detect movement properly. Next, activate the alarm and check if the siren sounds loudly enough to alert you. Finally, verify that the system communicates properly with any connected devices, like a smartphone or monitoring service, to ensure it’s fully operational.
8. Program the Alarm
Programming your alarm system is necessary for its proper functioning. First, set up a master code for the system and create user codes for family members or others. Then, configure the entry and exit delays to give yourself time to disarm the system when entering or leaving your home. Next, if your system supports it, set up remote access via an app so you can monitor the system from your smartphone or tablet. Additionally, ensure the system is connected to any monitoring services for real-time alerts. Finally, test the app and notifications to ensure they’re working properly.
9. Final Check
Once all steps are complete, perform a final check to ensure everything is working as expected. First, double-check that all sensors are securely mounted and aligned. Next, confirm that motion detectors are placed in optimal positions and are properly covering the intended areas. Afterward, ensure that the control panel is fully operational and communicating with the monitoring service. Finally, verify that all wires, screws, and panels are secure and functional to avoid any potential issues.
Final Thoughts
After installation, it’s essential to maintain the system regularly. Make sure to periodically test the alarm to ensure it’s still working. Additionally, replace batteries as needed to prevent malfunctions. Furthermore, familiarize all household members with the system’s codes and settings so they can use it effectively. In conclusion, a properly installed and maintained home alarm system will provide peace of mind and added security for your home.