
Windows play a crucial role in a home’s energy efficiency, ventilation, and overall appearance. Therefore, whether you’re upgrading an old window or installing a new one, proper installation is key to ensuring durability, weather resistance, and a perfect fit
At first glance, installing a window may seem like a complex task. However, by following a clear, step-by-step approach, you can make the process much easier and achieve professional-quality results. This guide will walk you through measuring, removing, installing, and sealing your window correctly—helping you achieve professional-quality results without the hefty price tag.

Tools You’ll Need:
- A tape measure to ensure accurate dimensions
- A level for proper alignment
- A screwdriver or drill to secure the window in place
- A utility knife for cutting materials cleanly
- A pry bar to remove the old window and trim
- A hammer for nailing or adjusting components
- A caulk gun to seal gaps effectively
- A putty knife for smoothing out caulk and insulation
- A carpenter’s square to check for perfect corners
- Safety glasses to protect your eyes during the process
Materials Required:
Trim if you plan to replace or update the finish
A new window that fits your measurements
Exterior-grade caulk for weatherproof sealing
Shims to help with leveling and stability
Insulation (spray foam or fiberglass) to prevent drafts
Flashing tape for additional water resistance
Wood screws or nails to secure the frame
Part 1: Removing the Old Window (For Replacement Windows)
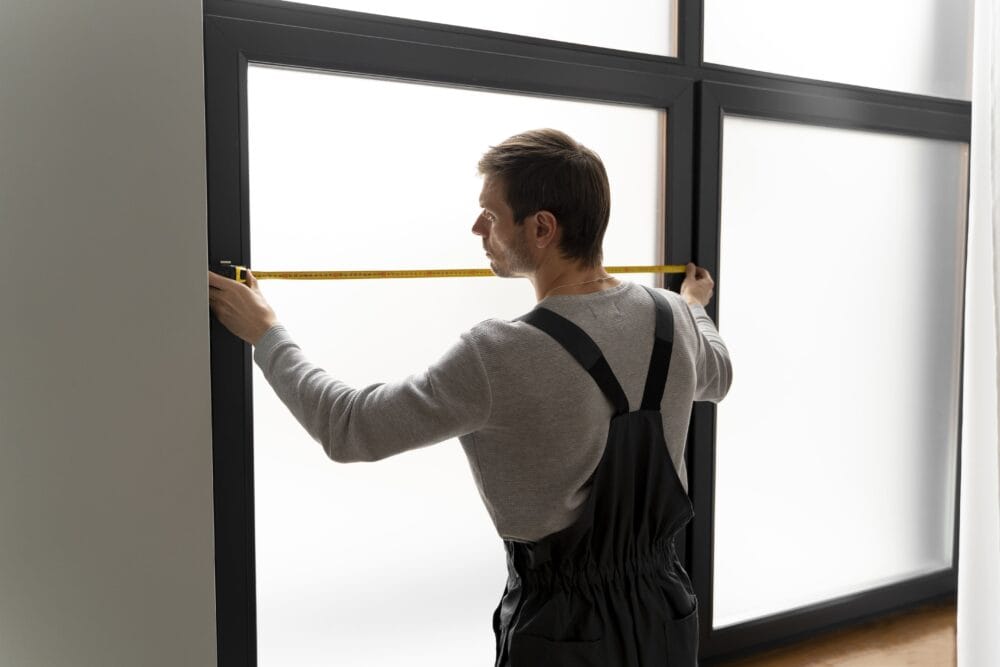
Step 1: Measure the Window Opening
Before purchasing a new window, it’s essential to measure the existing opening accurately.
- First, measure the width and height of the current window frame from inside the house.
- Be sure to measure at three points: top, middle, and bottom for width; left, center, and right for height.
- Finally, use the smallest measurement to ensure the new window will fit properly.
Step 2: Remove the Old Window
Now that you have your measurements, it’s time to remove the old window.
- Remove Interior Trim & Stops:
- Start by using a utility knife to cut through any paint or caulk around the interior trim.
- Then, carefully pry off the trim and window stops. If you plan to reuse them, set them aside.
- Take Out the Sashes (For Double-Hung Windows):
- Next, if your window has ropes or chains, detach or cut them.
- Lift and remove the lower sash first, followed by the upper sash.
- Remove the Window Frame:
- If the window is nailed or screwed in, use a drill or pry bar to remove fasteners.
- Then, gently pull out the window from the opening.
- Clean the Opening:
- Once the window is removed, take a moment to clear away any old caulk, nails, or debris.
- Also, check for any rotted wood. If you notice damage, replace or repair it before proceeding.
Part 2: Installing the New Window
Step 3: Dry Fit the Window
Before securing the new window, it’s important to check the fit.
- First, place the new window into the opening without securing it to see if it fits properly.
- There should be about 1/4″ gap around the sides to allow for insulation.
- If the fit isn’t right, you may need to adjust the opening slightly or add shims.
Step 4: Apply Flashing Tape (For Weatherproofing)
To protect against water leaks, follow these steps:
- Begin by applying a strip of flashing tape along the bottom sill of the opening.
- Next, slightly overlap the edges to ensure full coverage.
Step 5: Apply Caulk Around the Opening
At this point, you’ll need to seal the edges for a secure fit.
- First, apply a thick bead of exterior-grade caulk around the window opening where the new window flange will sit.
- Focus on sealing the top and sides, but be sure to leave the bottom unsealed to allow for drainage.
Step 6: Insert and Secure the New Window
Now that the opening is prepped, it’s time to install the new window.
- Place the Window into the Opening:
- Start by setting the bottom of the window into the sill first.
- Then, carefully tilt the top into place and press the window firmly into the caulk.
- Level and Square the Window:
- Next, use a level to check both the sides and the top of the window to ensure it’s straight.
- If adjustments are needed, insert shims behind the frame at screw points.
- Secure the Window in Place:
- Once the window is level and square, drive screws or nails through the pre-drilled holes in the window frame into the house framing.
- For best results, start with the top corners, followed by the bottom.
Part 3: Insulating and Sealing the Window
Step 7: Check the Window Operation
Before sealing everything, take a moment to open and close the window to ensure it operates smoothly.
- If the window sticks or doesn’t lock properly, adjust the shims as needed.
Step 8: Add Insulation
Now, it’s time to insulate the window for better energy efficiency.
- Use low-expanding spray foam insulation to fill the gaps between the window frame and wall studs.
- However, be careful not to overfill, as excessive foam can warp the frame.
- Alternatively, you can use fiberglass insulation strips.
Step 9: Apply Exterior Flashing & Sealants
To fully weatherproof the window, follow these steps:
- Apply flashing tape over the top and sides of the window frame, covering the flange.
- Next, run a bead of caulk along the edges where the window meets the wall.
- Finally, do not completely seal the bottom—leave a small drainage gap to prevent water buildup.
Step 10: Reinstall Trim & Finishing Touches
Now that the window is securely in place, you can reinstall the interior trim.
- If you removed trim earlier, reattach it using nails or screws.
- For a polished look, apply paintable caulk around the trim edges.
- If necessary, touch up with paint to match the surrounding wall.
Final Checks
Before calling it a day, double-check the following:
✔️ Open and close the window multiple times to test its function.
✔️ Check for air leaks and apply more caulk if needed.
✔️ Ensure the window locks securely.